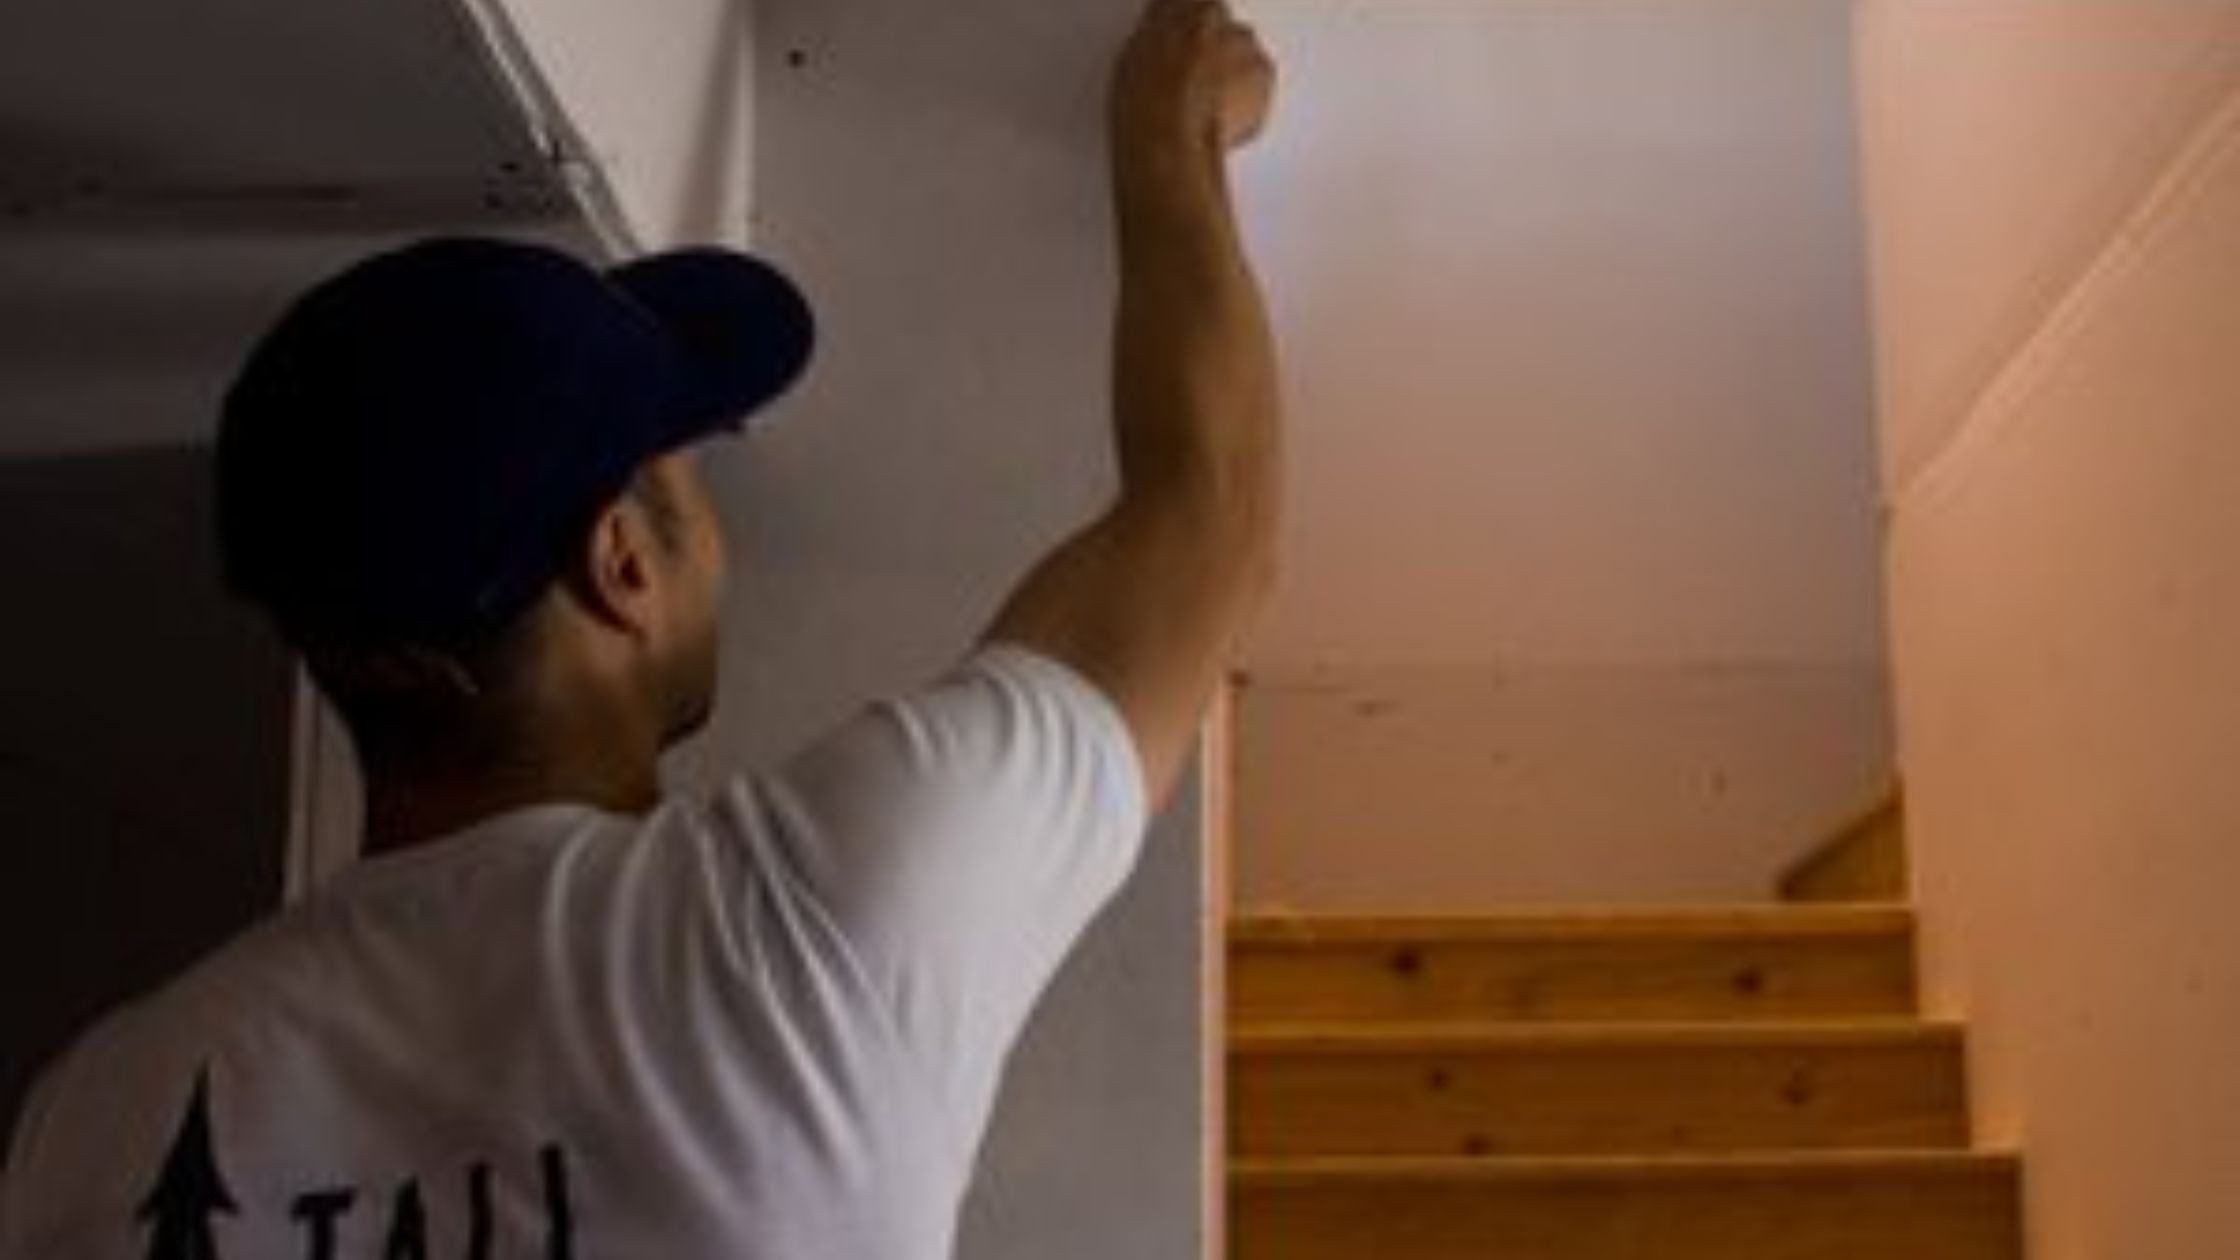
Cracks in drywall can appear for various reasons, including settling foundations, changes in humidity, or even the natural aging of your home. While small cracks may seem harmless, they can worsen over time if not addressed. Fortunately, fixing cracks in drywall is a relatively easy task that most homeowners can handle with the right tools and materials. In this guide, we’ll walk you through the process of repairing drywall cracks, so your walls can look smooth and pristine again. If you need professional help, contact Tall Pines Drywall, your trusted drywall contractors in Winnipeg.
Step 1: Assess the Crack
Before diving into the repair process, it’s important to understand the type of crack you’re dealing with. Cracks in drywall typically fall into a few categories:
- Hairline Cracks: These are the thinnest cracks and are usually caused by the natural settling of the house or minor temperature fluctuations.
- Larger Cracks: These cracks may be caused by more significant settling, moisture damage, or structural shifts.
- Severe Cracks: These are jagged, wide cracks that may signal more serious issues, such as foundation problems or water damage.
Once you’ve identified the type of crack, you’ll know whether it’s something you can repair yourself or if you may need to call in a professional for help.
Step 2: Gather the Necessary Tools and Materials
To fix drywall cracks, you’ll need the right tools. Here's a list of everything you'll need for the job:
- Joint compound (also known as drywall mud)
- Drywall tape (paper or fiberglass mesh tape)
- Putty knife or drywall knife
- Sandpaper (medium and fine grit)
- Primer and paint
- Utility knife
- Sponge or cloth for cleaning
Having all your tools and materials ready before you begin will help the repair go more smoothly and efficiently.
Step 3: Prepare the Area for Repair
The next step in fixing a drywall crack is preparing the area. Using a utility knife, widen the crack slightly to create a groove for the joint compound to better adhere to. This step will also help to remove any loose debris or drywall dust from the crack.
After widening the crack, take a damp cloth or sponge and clean the area to remove any dirt or grease that may prevent the joint compound from sticking.
Step 4: Apply Drywall Tape
For larger cracks, you’ll need to reinforce the repair with drywall tape. There are two types of drywall tape you can use: paper tape and fiberglass mesh tape.
- Paper Tape: Paper tape is the traditional choice and works well for larger cracks, providing a smooth finish.
- Fiberglass Mesh Tape: This tape is self-adhesive, making it easier to work with, especially for smaller cracks.
For most repairs, fiberglass mesh tape works just fine. Cut a piece of tape slightly longer than the crack and place it directly over the crack. Press the tape firmly into the crack to ensure it stays in place.
Step 5: Apply Joint Compound
Once the tape is in place, you’ll need to apply a layer of joint compound over it. Using a putty knife or drywall knife, spread the joint compound evenly over the tape, making sure to cover the crack entirely. Try to spread the compound as smoothly as possible to minimize the amount of sanding you’ll need to do later.
If the crack is deep, you may need to apply additional layers of compound, allowing each layer to dry before adding the next. Be sure to smooth out the compound as much as possible as you work to ensure the final surface is level with the surrounding wall.
Step 6: Allow the Compound to Dry and Sand
After applying the joint compound, you’ll need to let it dry completely. Drying times can vary depending on the thickness of the compound, but generally, it should take about 24 hours for the first layer to dry. Once dry, use medium-grit sandpaper to gently sand the surface, blending the edges of the joint compound with the surrounding wall.
After the first sanding, use fine-grit sandpaper to smooth the surface further. Be careful not to oversand, as this can lead to an uneven texture. The goal is to make the repair area as smooth as possible to match the rest of the wall.
Step 7: Apply Additional Layers (If Needed)
In many cases, one layer of joint compound won’t be enough to completely fill the crack, especially for larger or deeper cracks. If the crack is still visible after sanding, apply a second, thinner layer of joint compound over the crack and tape. Allow this layer to dry completely, then sand it down again with fine-grit sandpaper.
If necessary, repeat this process with additional layers until the crack is fully covered and the surface is completely smooth.
Step 8: Prime and Paint
Once the joint compound is completely dry and sanded smooth, it’s time to prime and paint the repaired area. First, apply a coat of primer to seal the joint compound and help the paint adhere properly. Once the primer has dried, apply the paint that matches the surrounding wall color.
Step 9: Clean Up and Inspect
After the paint has dried, carefully inspect the repair. If the crack is no longer visible and the wall looks smooth, you’ve successfully repaired the drywall crack. Clean up your tools and remove any drop cloths. If you find any imperfections in the repair, you may need to apply another thin layer of joint compound, sand it, and repaint.
Conclusion
If the crack in your drywall is too big or the damage is too extensive to fix on your own, don’t hesitate to contact a professional. At Tall Pines Drywall, we specialize in drywall crack repair in Winnipeg and offer expert services throughout Winnipeg and the surrounding areas. Whether you have small hairline cracks or larger structural damage, our team has the skills and experience to provide a flawless repair.
Call us today to schedule a consultation and let us restore the beauty of your walls!
Comments