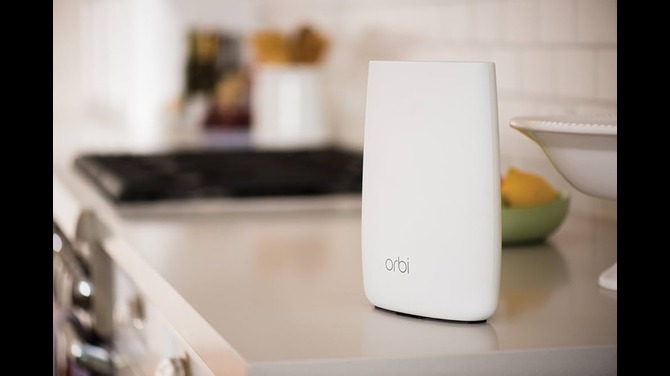
 Orbi login interface helps user to
enable or disable the Orbi mesh network features and manage its
settings. With the help of this simple Orbi admin login process you
can manage settings on your phone or PC within minutes. But if you
are not using correct guidelines, you will end up triggering multiple
errors. So here, we will help you to securely access your Orbi login
interface on your internet device. Now, let’s dive from step 1
right away.
Orbi login interface helps user to
enable or disable the Orbi mesh network features and manage its
settings. With the help of this simple Orbi admin login process you
can manage settings on your phone or PC within minutes. But if you
are not using correct guidelines, you will end up triggering multiple
errors. So here, we will help you to securely access your Orbi login
interface on your internet device. Now, let’s dive from step 1
right away.
Step 1: Connect to Your Orbi Network
You must connect with your Orbi network. That can be either through Wi-Fi (look for the network name that came with your Orbi) or a direct Ethernet connection from your computer to the Orbi router. If you’re setting this up for the first time, check the label on the back or bottom of the router — it has the default Wi-Fi name and password.
Step 2: Go to Orbi Login Page
Once your internet device is connected with the network, open up a browser any updated one. Then type the login URL into the address bar which is orbilogin.com Or you can use IP address 192.168.1.1.
That’s the local IP address for the Orbi router. Both of the URL/IP will take you to the same place the login screen.
Step 3: Enter Your Login Credentials
Here’s where people sometimes get tripped up. In case you never changed the orbilogin.com login before, the default username is: admin and the default password is: password
(Yes, really. Make sure you change that later for security.)
If it has already managed and somebody changed the password and you don’t know it. Resetting the router to factory settings is the only solutions. Hold down the reset button with the help of the paper pin or pen for about 10 seconds to initiate the reset.
Step 4: Explore the Dashboard
Once you’re logged in, you’ll land on the Orbi dashboard. It’s pretty user-friendly. You’ll see options to check device status, update firmware, change Wi-Fi settings, set up parental controls, and more.
If you’re just trying to get your Wi-Fi up and running, head over to the “Wireless Settings” section. From there, you can change your network name (SSID), set a custom password, and choose security options (I recommend WPA2 at minimum).
Step 5: Secure Your Orbi
This is important and often overlooked: once you're in, change your admin password. Keeping it as "admin/password" is like leaving your front door wide open. Go to “Advanced” > “Administration” > “Set Password” to update it.
Also, check for firmware updates. Netgear releases them periodically to patch bugs and improve performance.
If You Can't Log In
In the situation like, stuck at the login screen and can't get in no matter what, here are a few quick things to check:
- Are you actually connected to the Orbi network? Try disconnecting and reconnecting to Wi-Fi.
- Browser cache causing issues? Try clearing it or using incognito mode.
- Still can’t log in? Do a factory reset and try again.
Mobile Option: Use the Orbi App
If you’d rather do all this from your phone, Netgear has an Orbi app for iOS and Android. It’s pretty intuitive and walks you through setup and login in just a few taps. I personally find it handy for checking things on the go, like seeing which devices are connected or rebooting the router without getting off the couch.
The Conclusion
Hopefully, you have understood the Orbi admin login interface importance in bettering the WiFi network in your house. In this above guide, we have mentioned complete information about Orbi login interface wizard like how to reach, how to access, and how to troubleshoot if any problem comes.
Comments